
Elevation View Takeoff
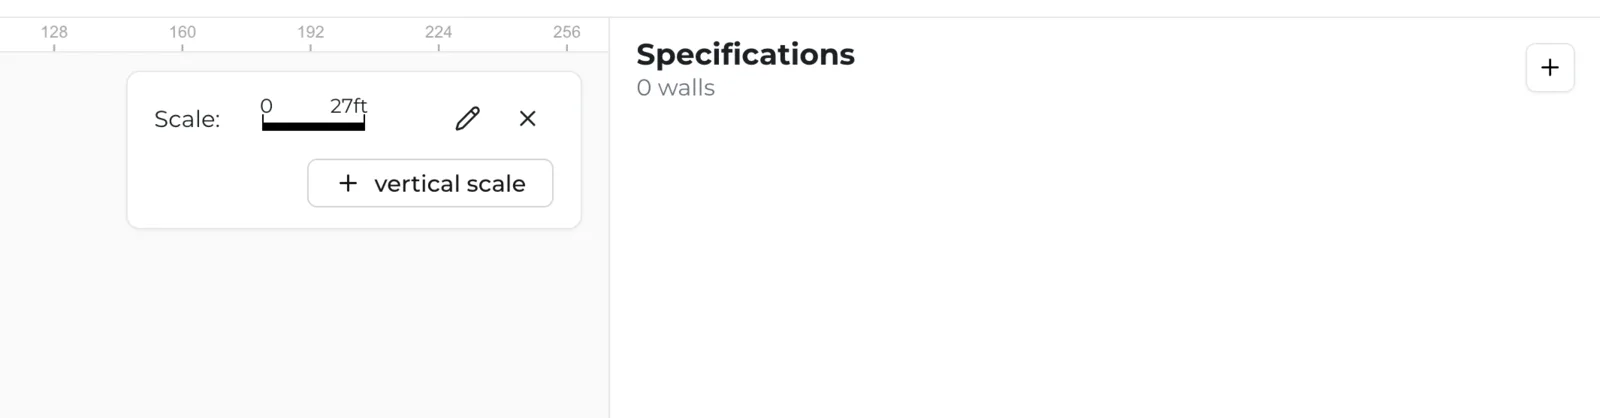
If the retaining wall is depicted in elevation or profile view, use the elevation view tool. Make sure a scale is set first — and both horizontal and vertical scales if the vertical scale differs from the horizontal one — because the takeoff tool will not work without one.
Starting an elevation view takeoff
First create a Specification by clicking the + button in the upper right corner. This tells the software you've found a retaining wall and need to record data about it.
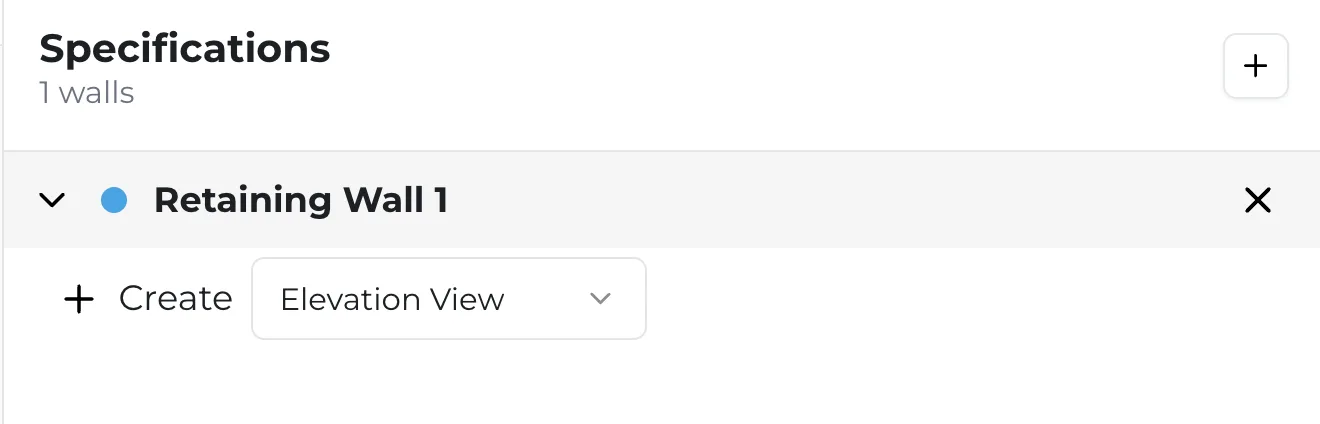
In your new specification, select the Elevation View takeoff tool from the dropdown, then click the + button immediately to the left of the word Create to start taking off the wall.
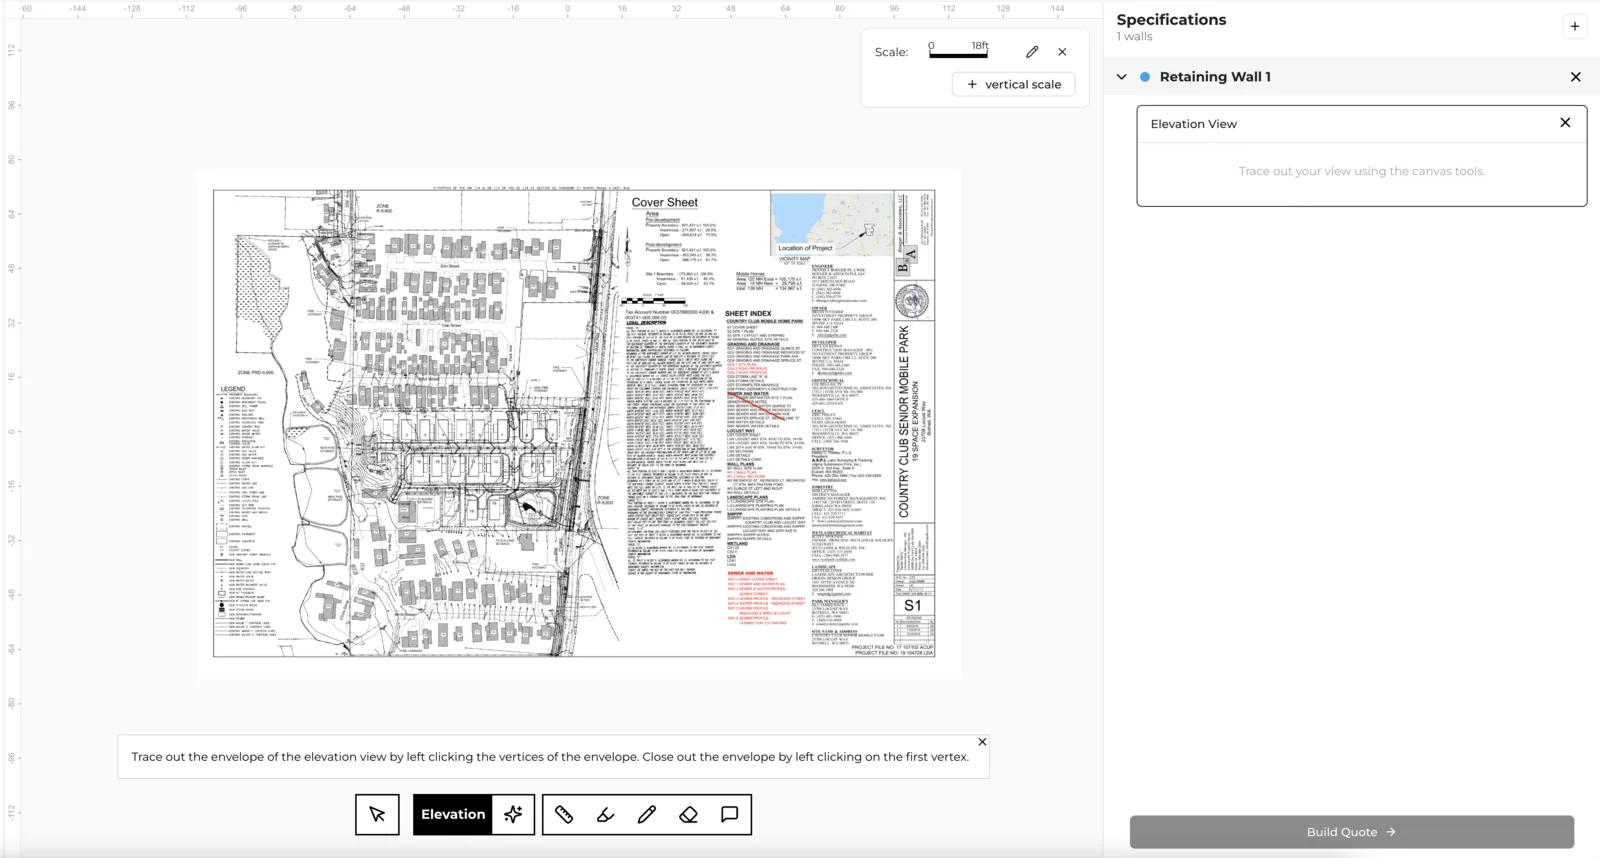
You're ready to take off when the Elevation View rectangular component beneath your specification is bordered in black and a black Elevation tool appears in the toolbar.
Manual tracing
An elevation view takeoff has one step but two methods: trace the envelope of the wall by placing vertices yourself, or let AI take a stab at the envelope for you.
To trace the envelope, click along the edge of the wall to add vertices in sequential order. Click one corner of the envelope to add the first vertex, then move to the next point along the outline and click again. Keep going to follow the outline as best you can. Struction drafts a polygon between your vertices and dynamically shows the length between the last two.
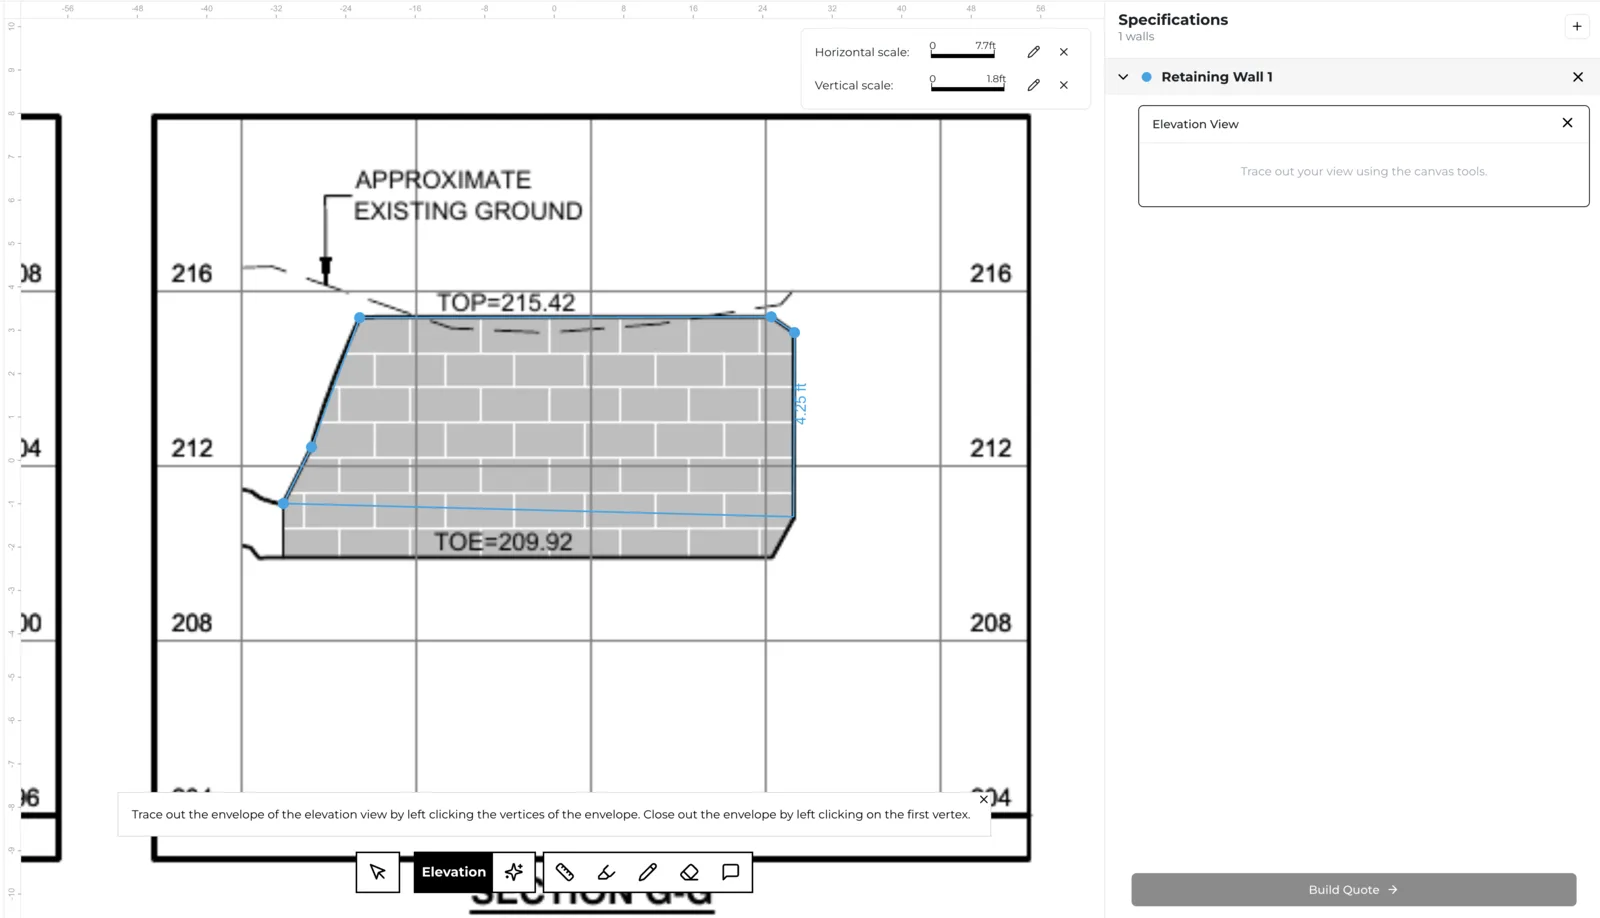
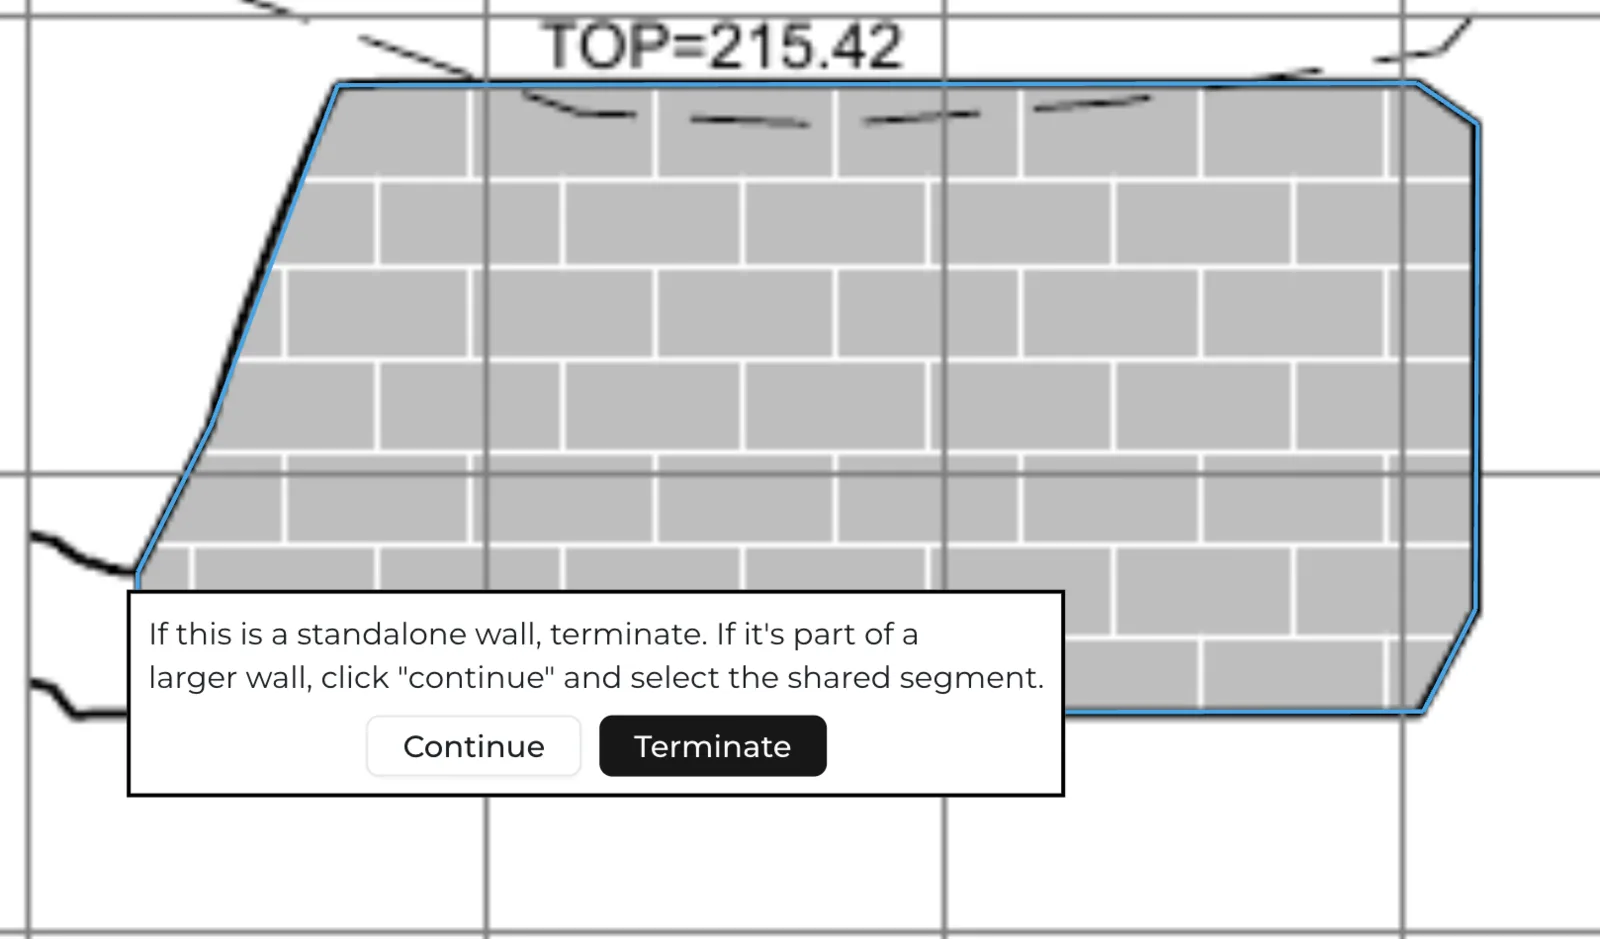
Once you've traced the outline, click your first vertex once more to close the polygon. You'll be prompted: "If this is a standalone wall, terminate. If it's part of a larger wall, click continue and select the shared segment." If you've traced the entire wall, click Terminate. If you've reached a match-line, click Continue.
Continuing with match-lines
If you clicked Continue, the tool needs you to pick which segment of the polygon is the match-line. Segments glow as you hover over them — click the correct one. As in plan view, a match-line then follows your cursor, and you start the next portion of the wall by matching it to the match-line on the next elevation view. If that segment is on a different page, click Set Scale and set the scale there first; the match-line re-populates on your cursor afterwards. You can use as many match-lines as you need.
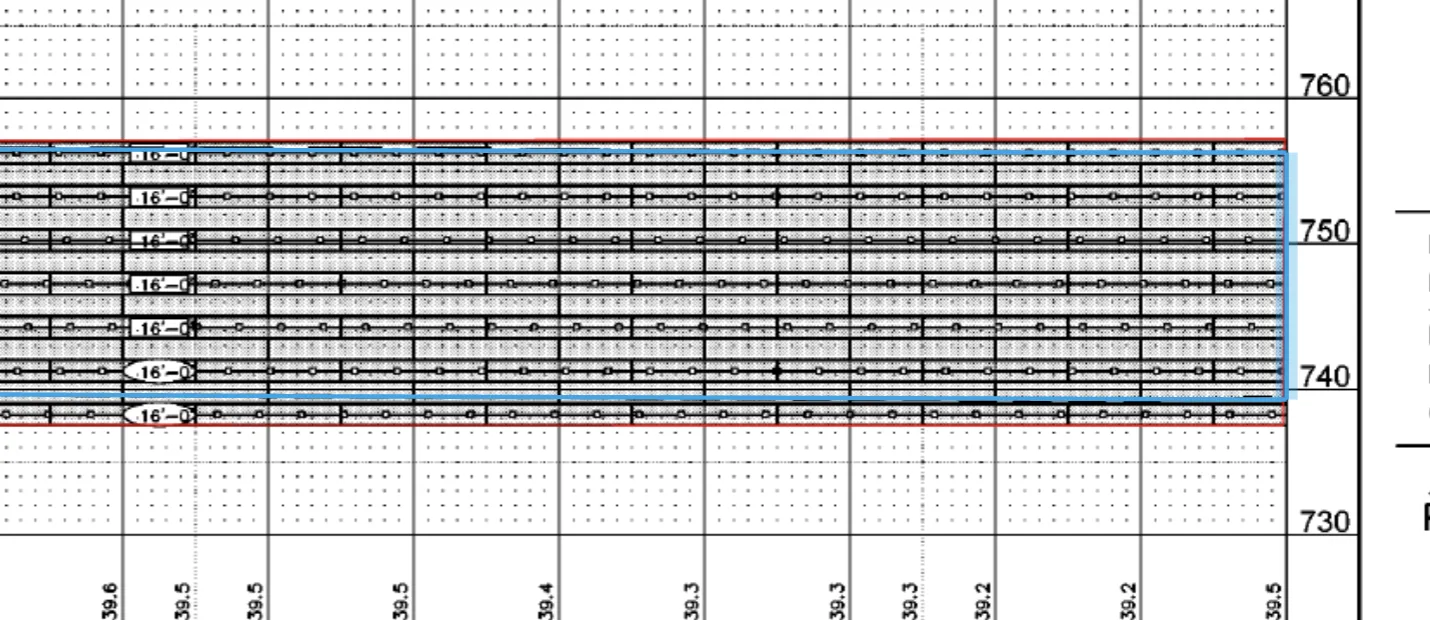
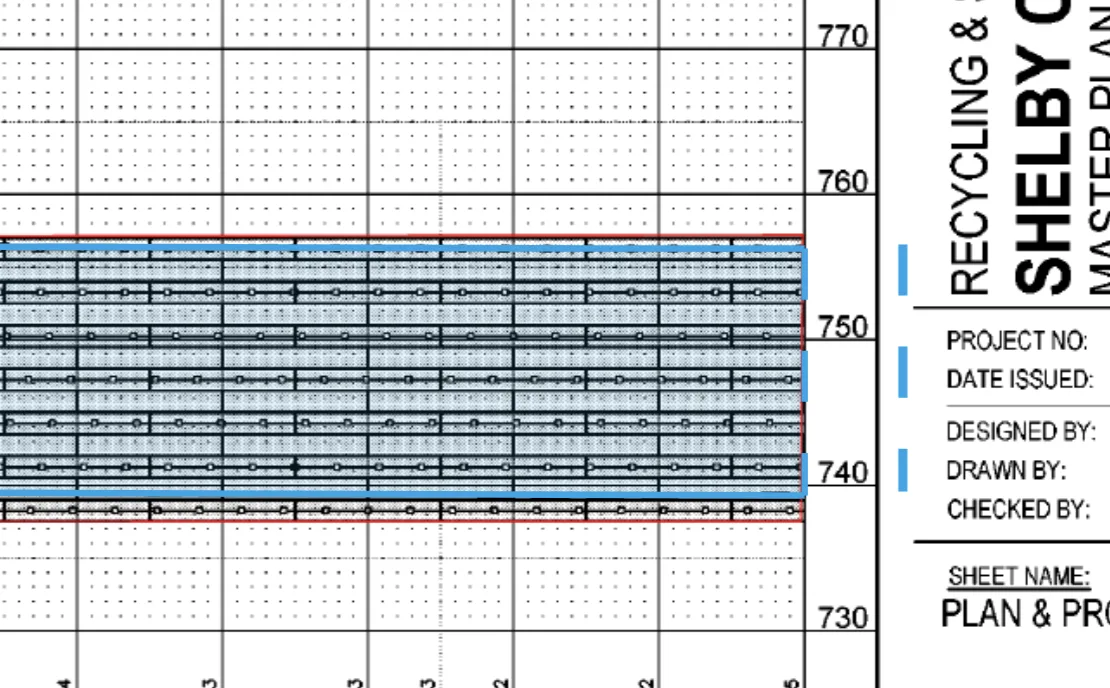
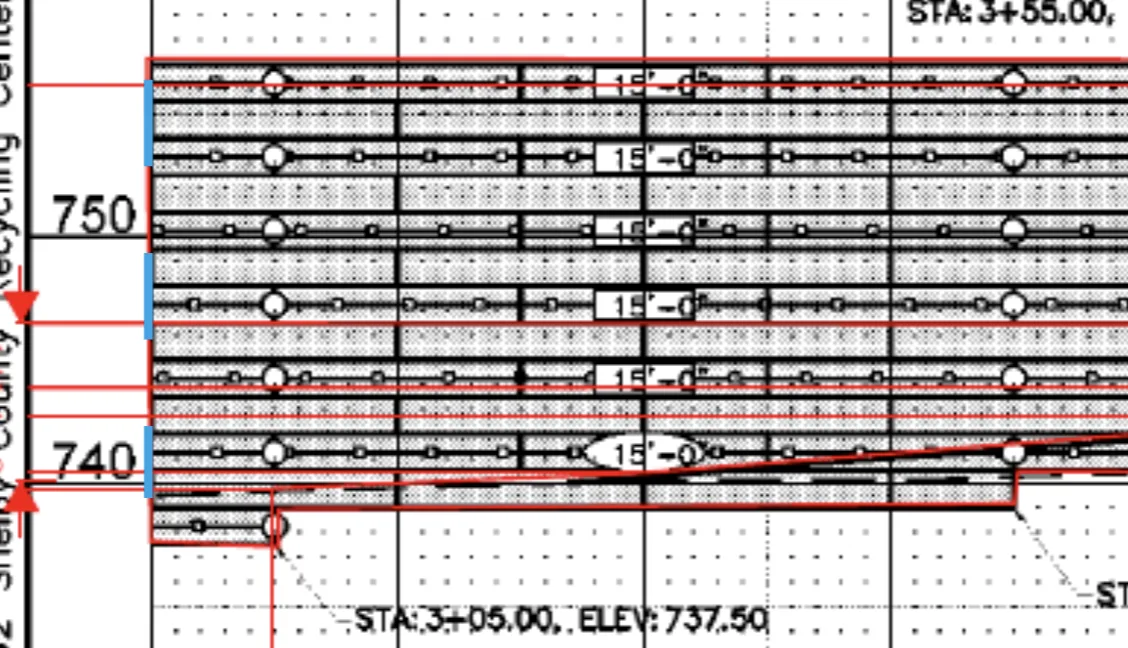
If you clicked Terminate, click the Cursor tool in the toolbar to exit the elevation view takeoff tool.
AI-assisted takeoff
Instead of the Elevation tool in the toolbar, click the shimmering star immediately to its right.

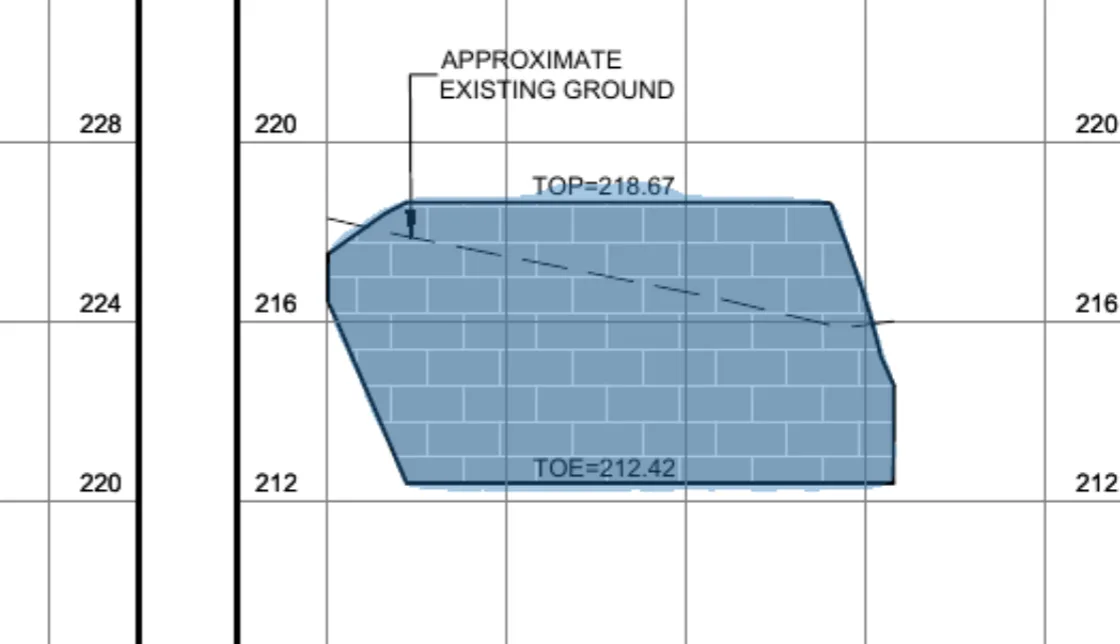
Move your cursor around the page and AI shows segmentations near the cursor. Move until you find a segmentation that best fits your wall envelope, then click. AI has just taken off your wall.
Editing polygons
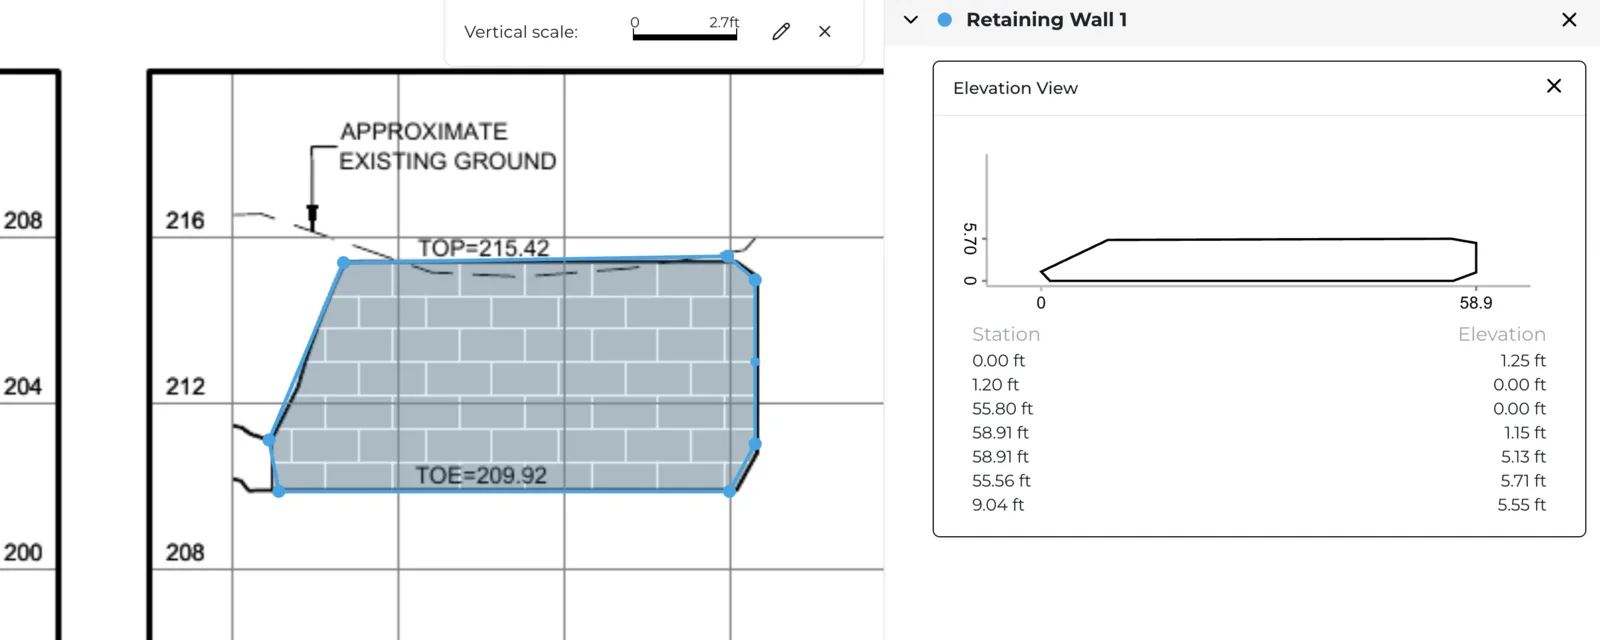
To modify a polygon after the fact, click the View underneath your retaining wall specification, then double-click inside the polygon. You can then move any vertex by clicking and dragging it.
More docs
Docs for